
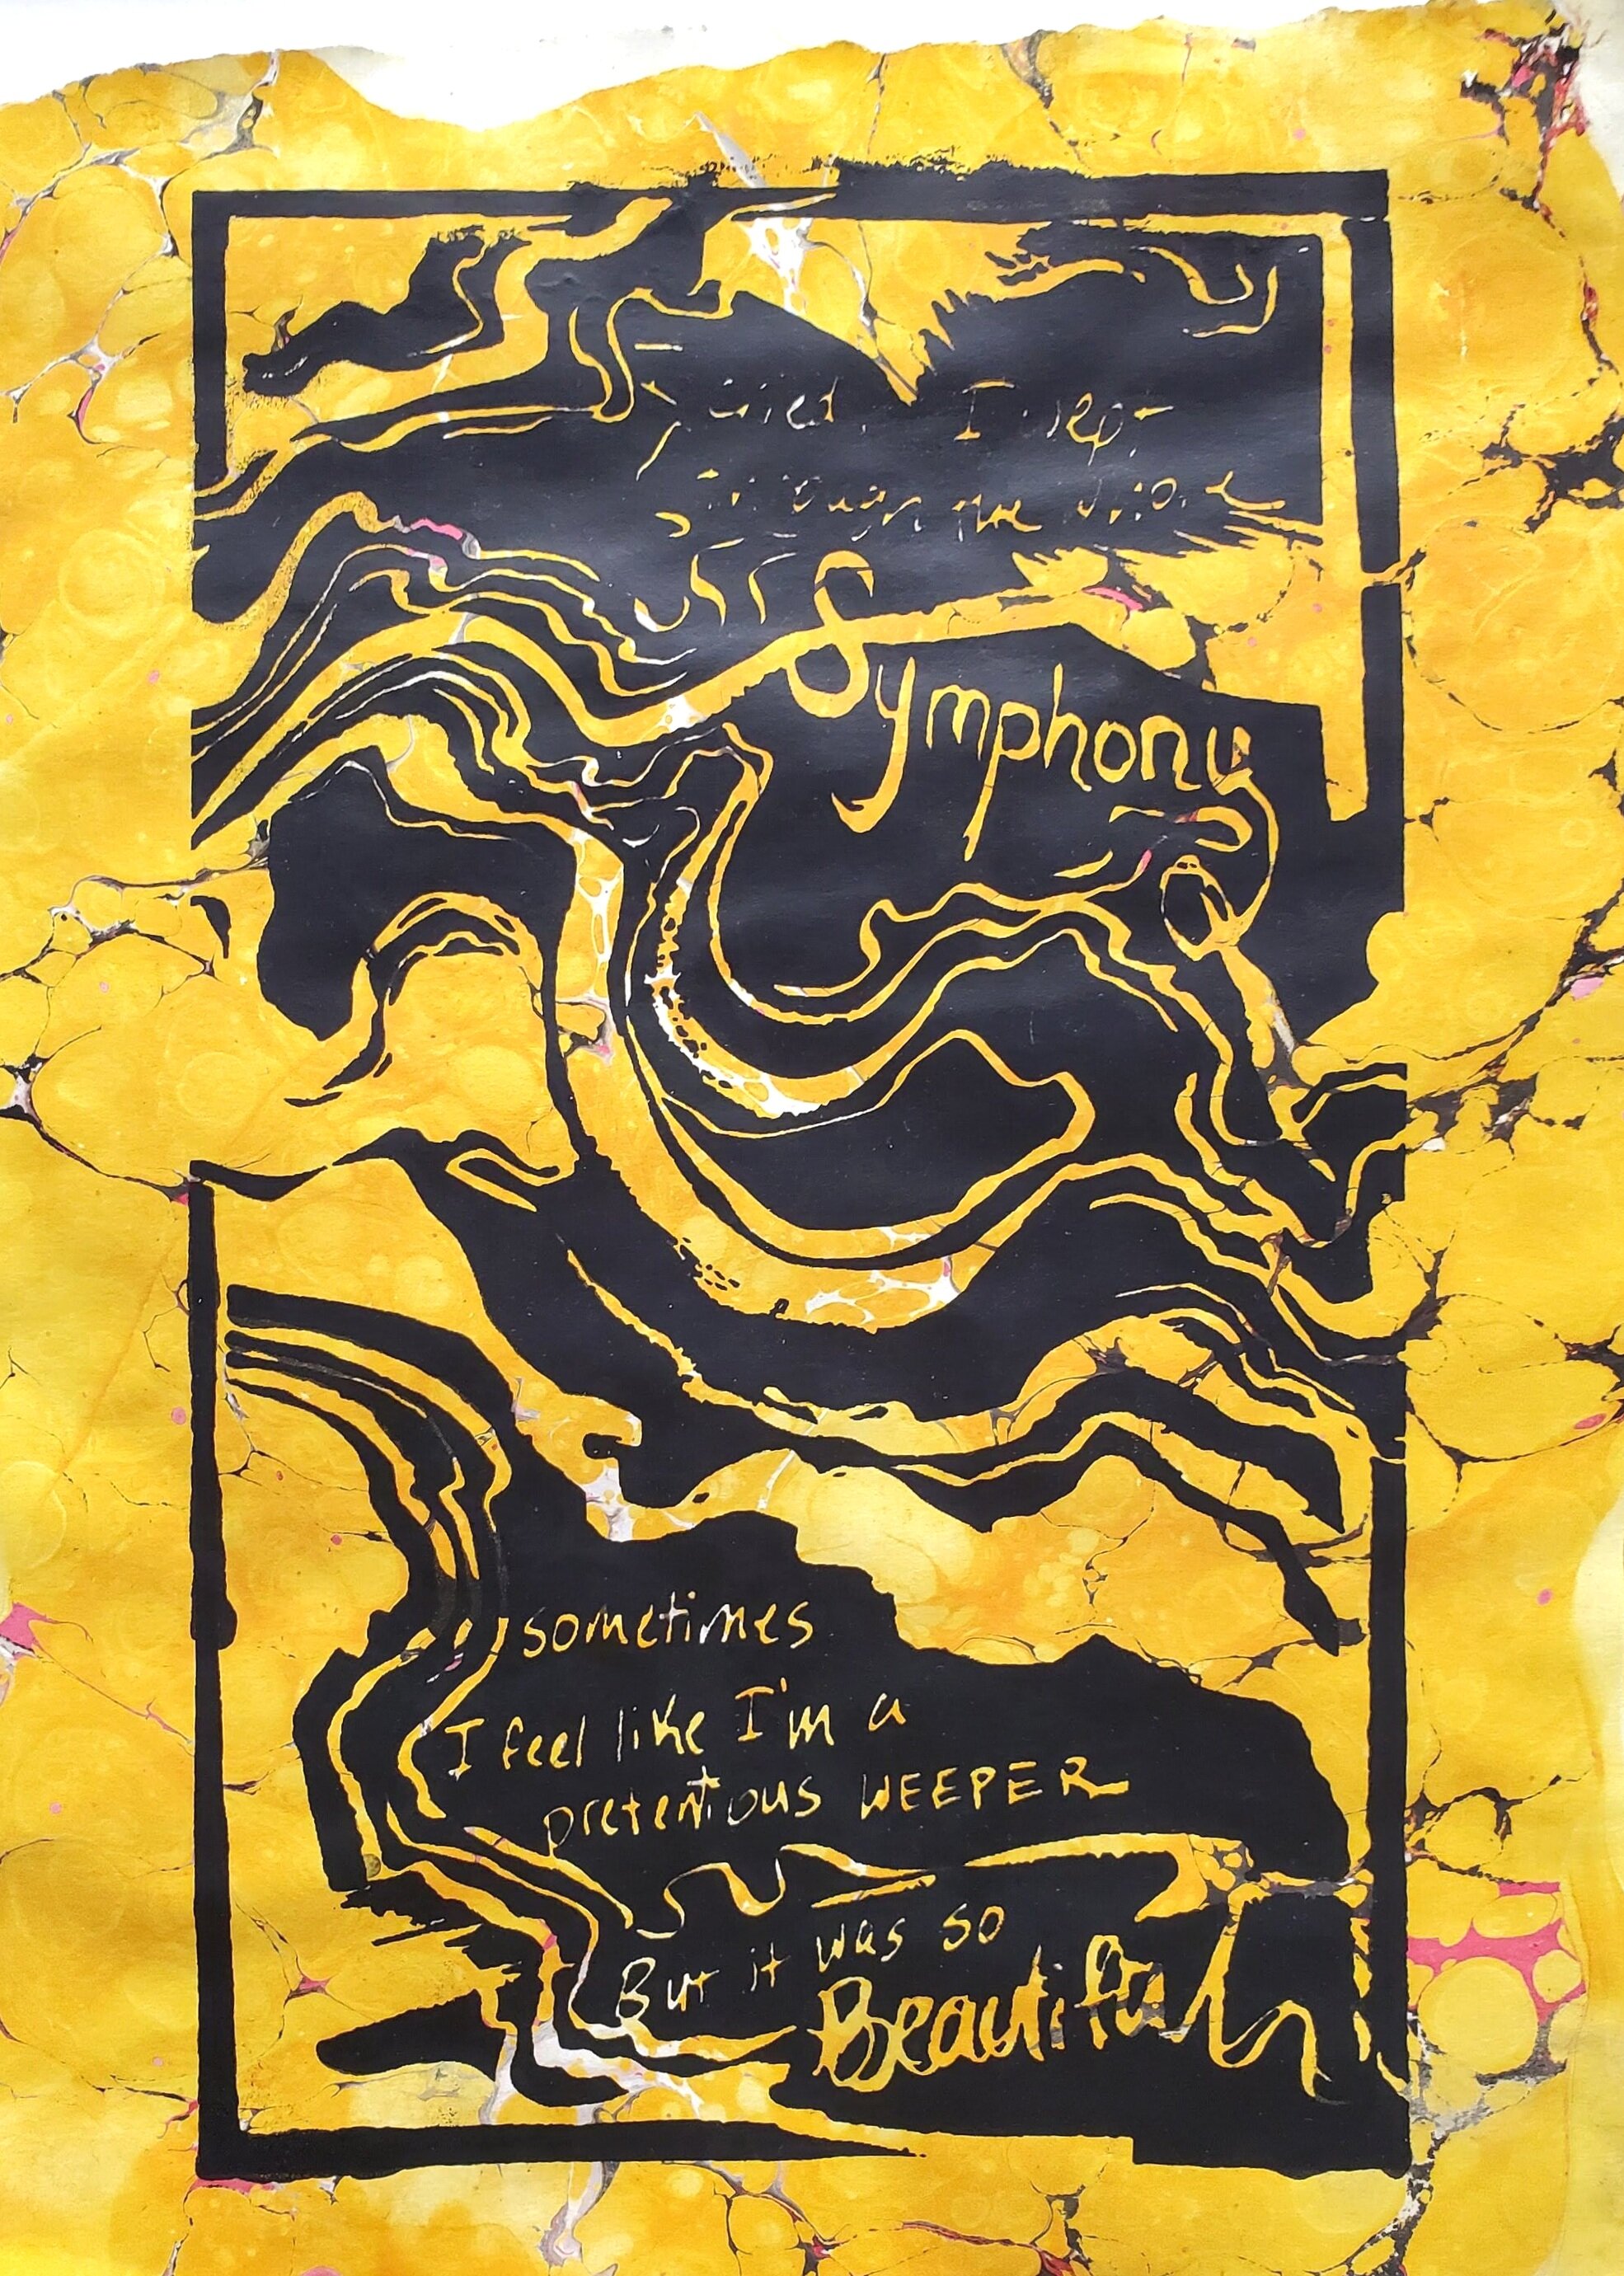
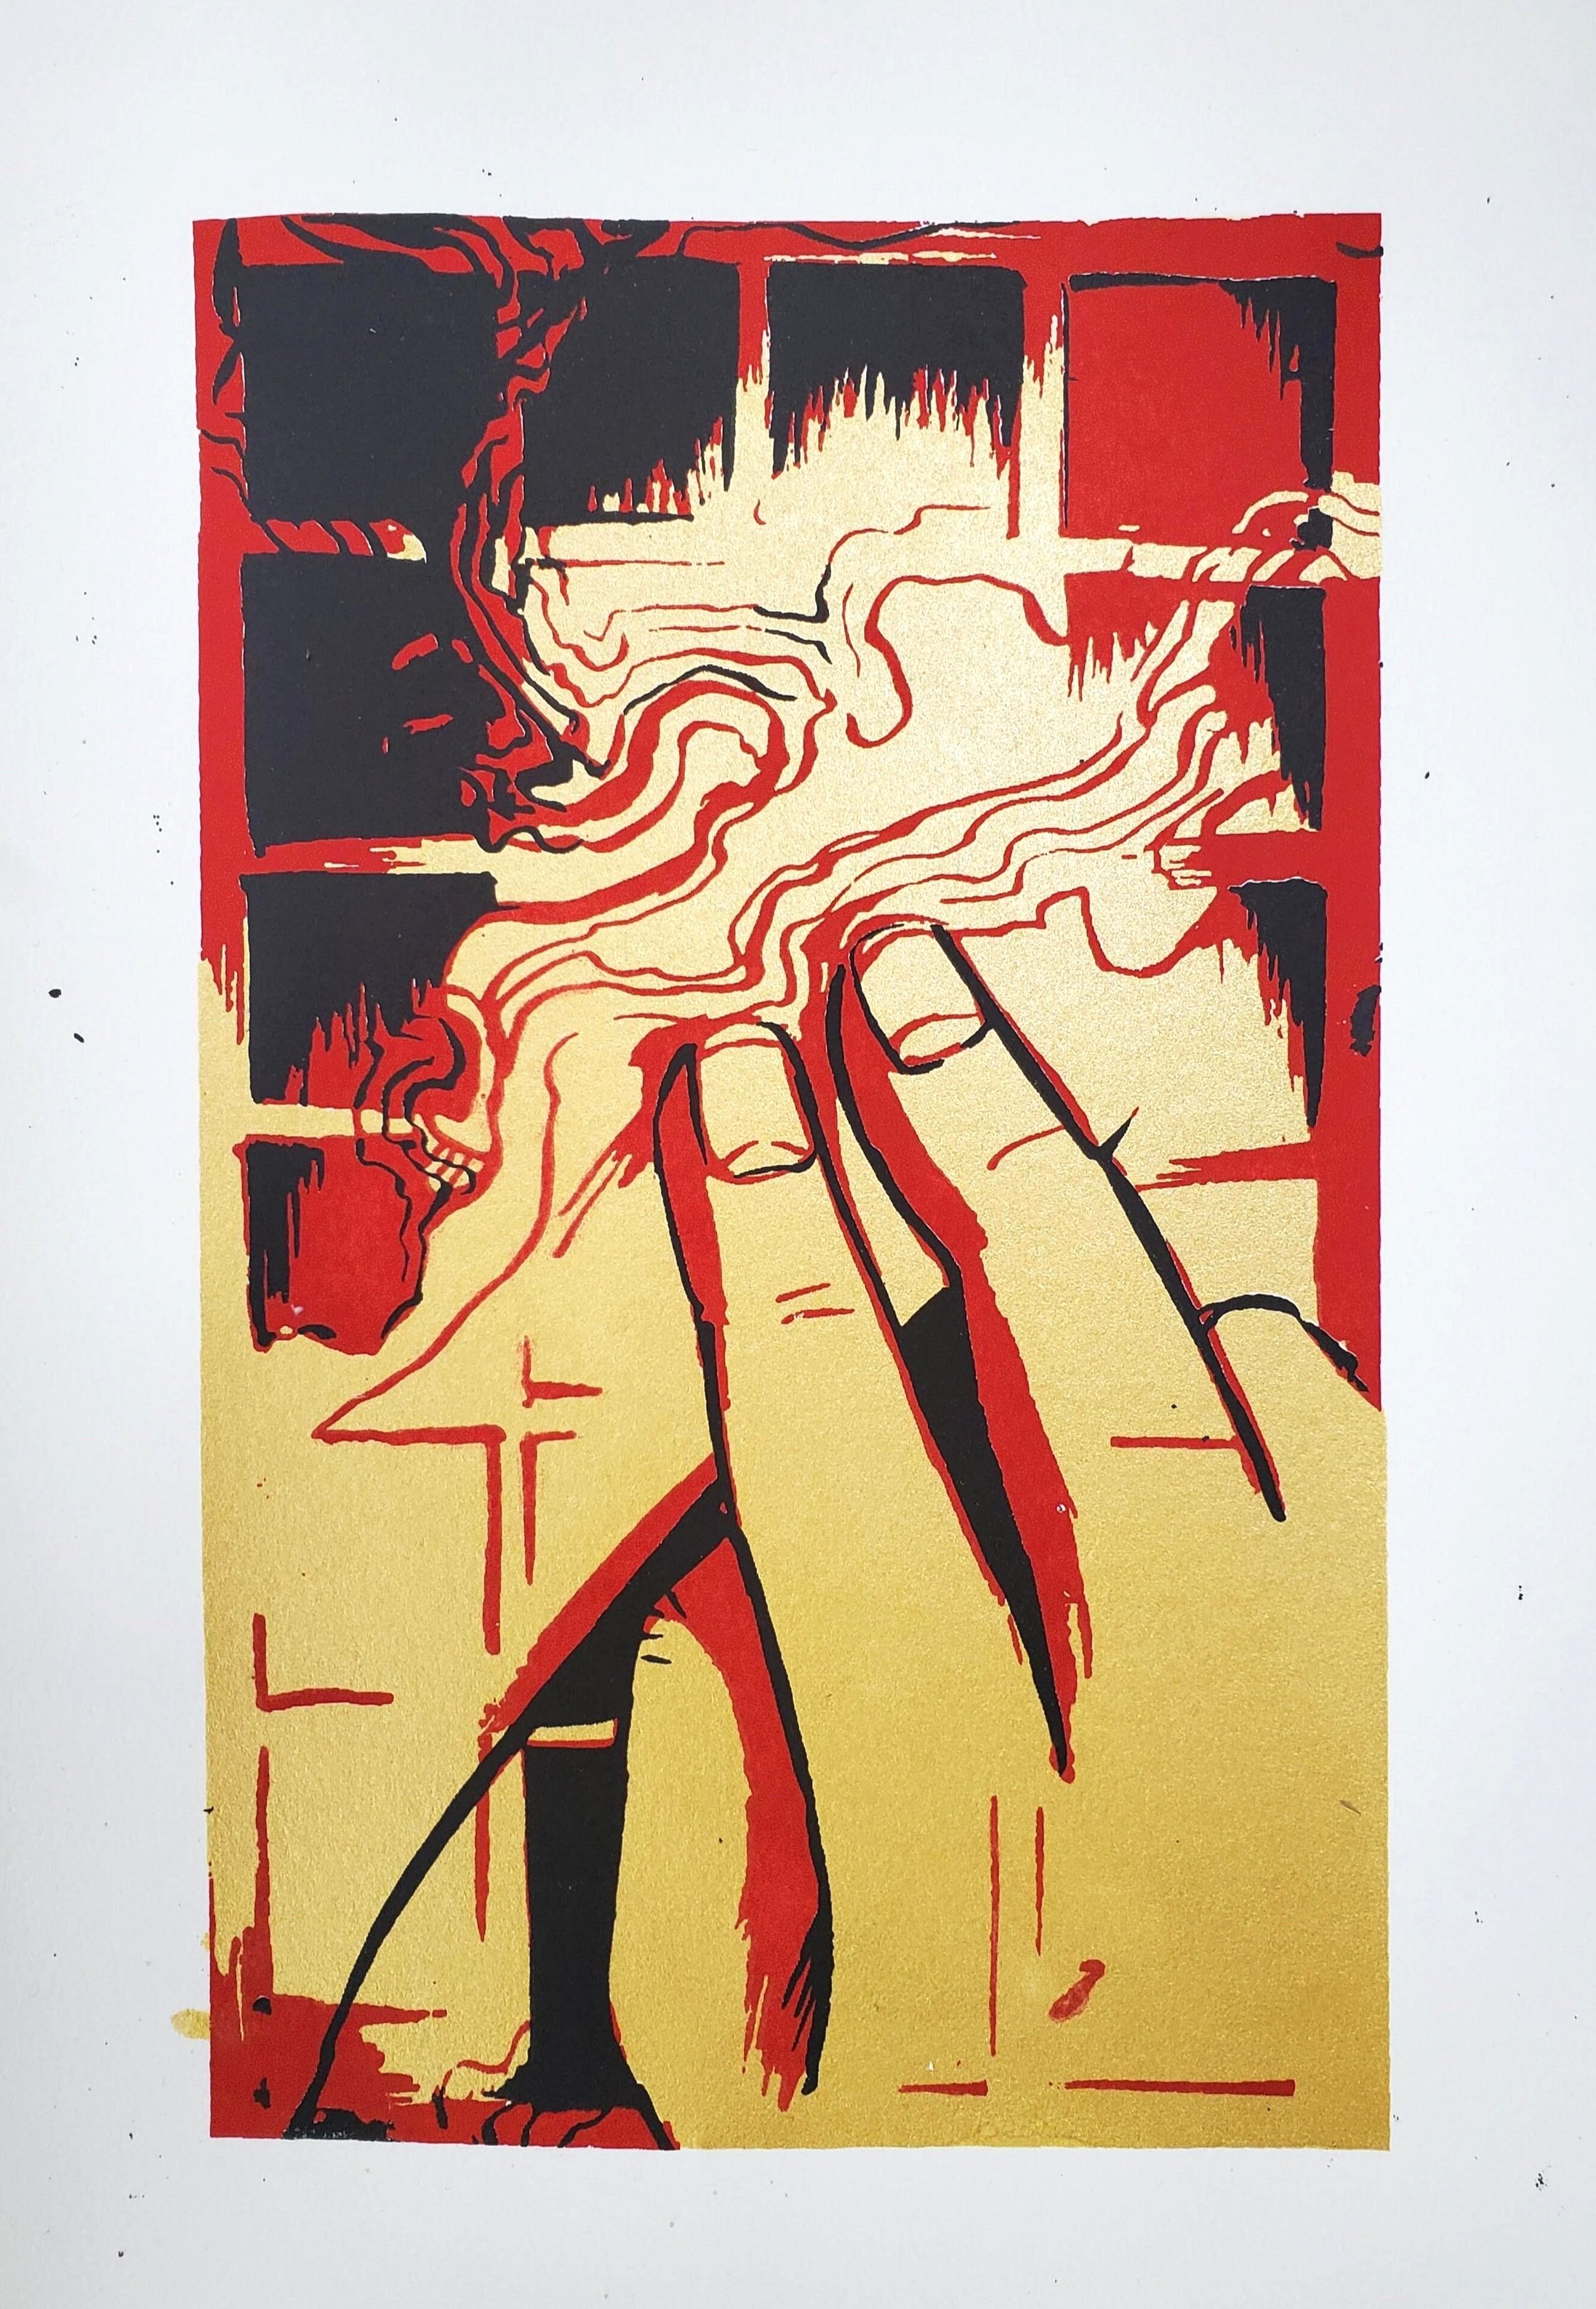
I Cried, I Wept
9x12 | Serigraph with Marbling on Texoprint paper
1/1 in set
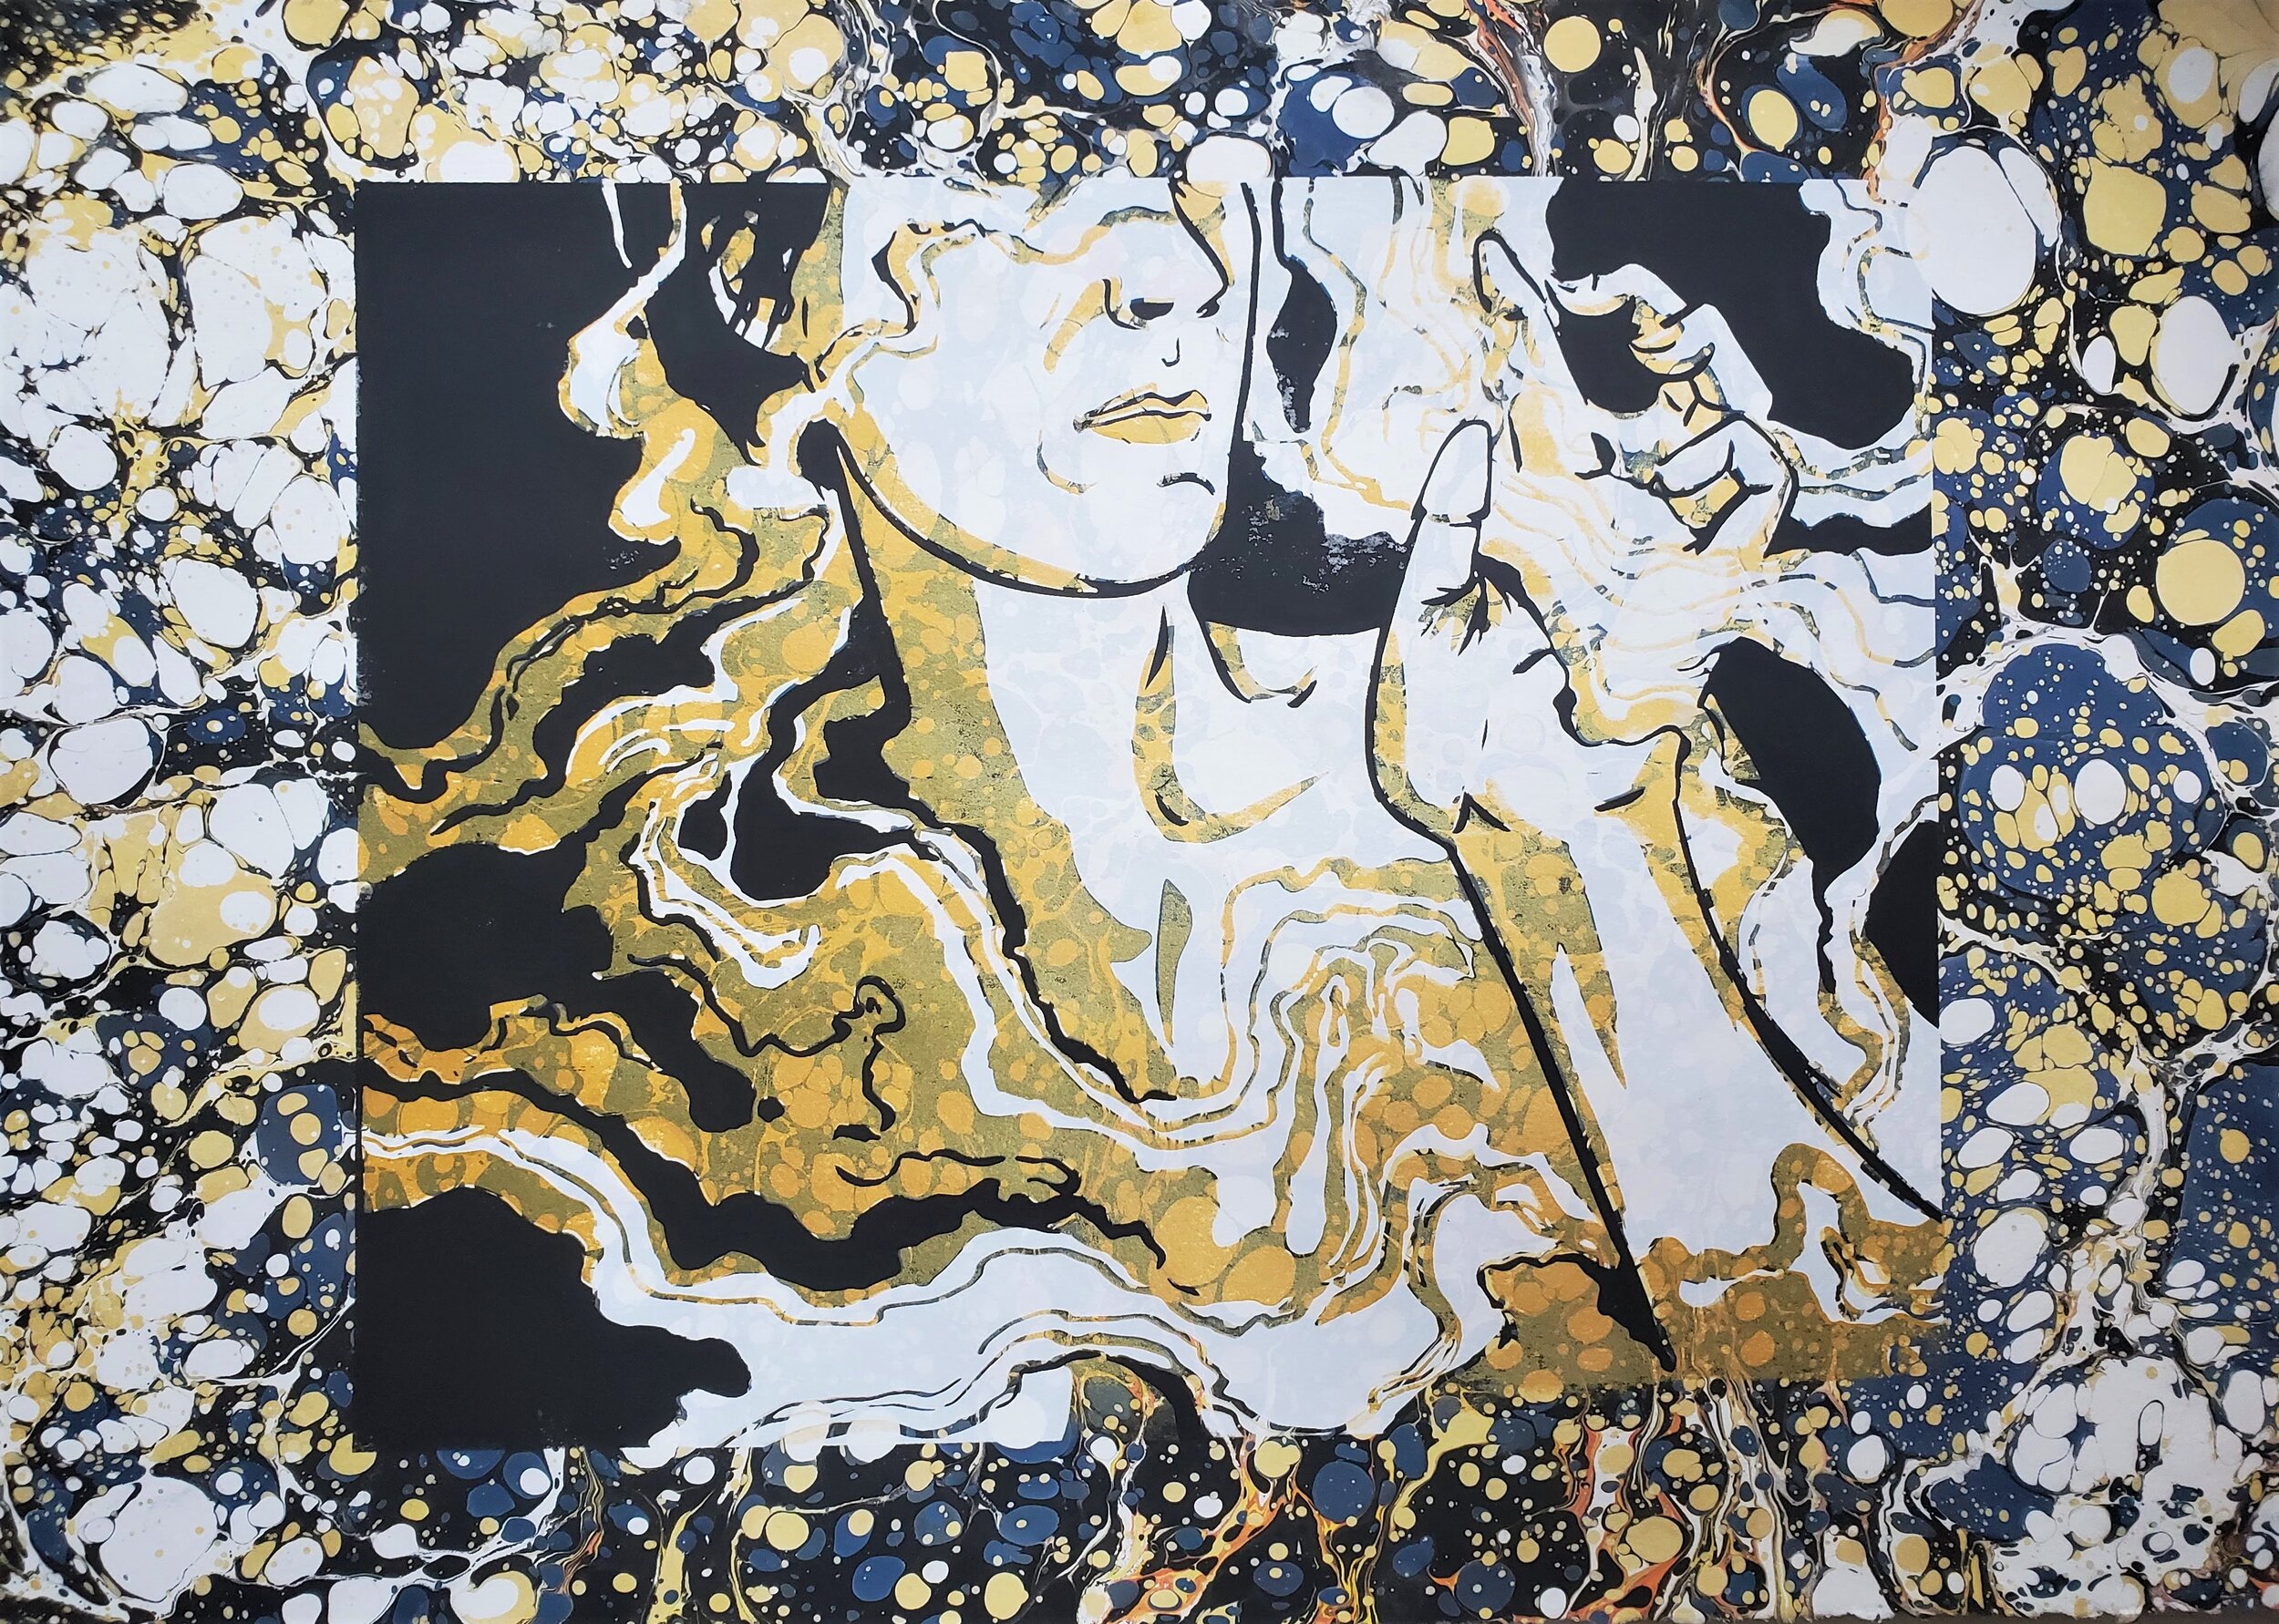
Gestures
16x24 | Serigraph with Marbling on Stonehenge paper
1 of 2 left in set

Gestures II
9x12 | Serigraph on Stonehenge paper
2/10 in set
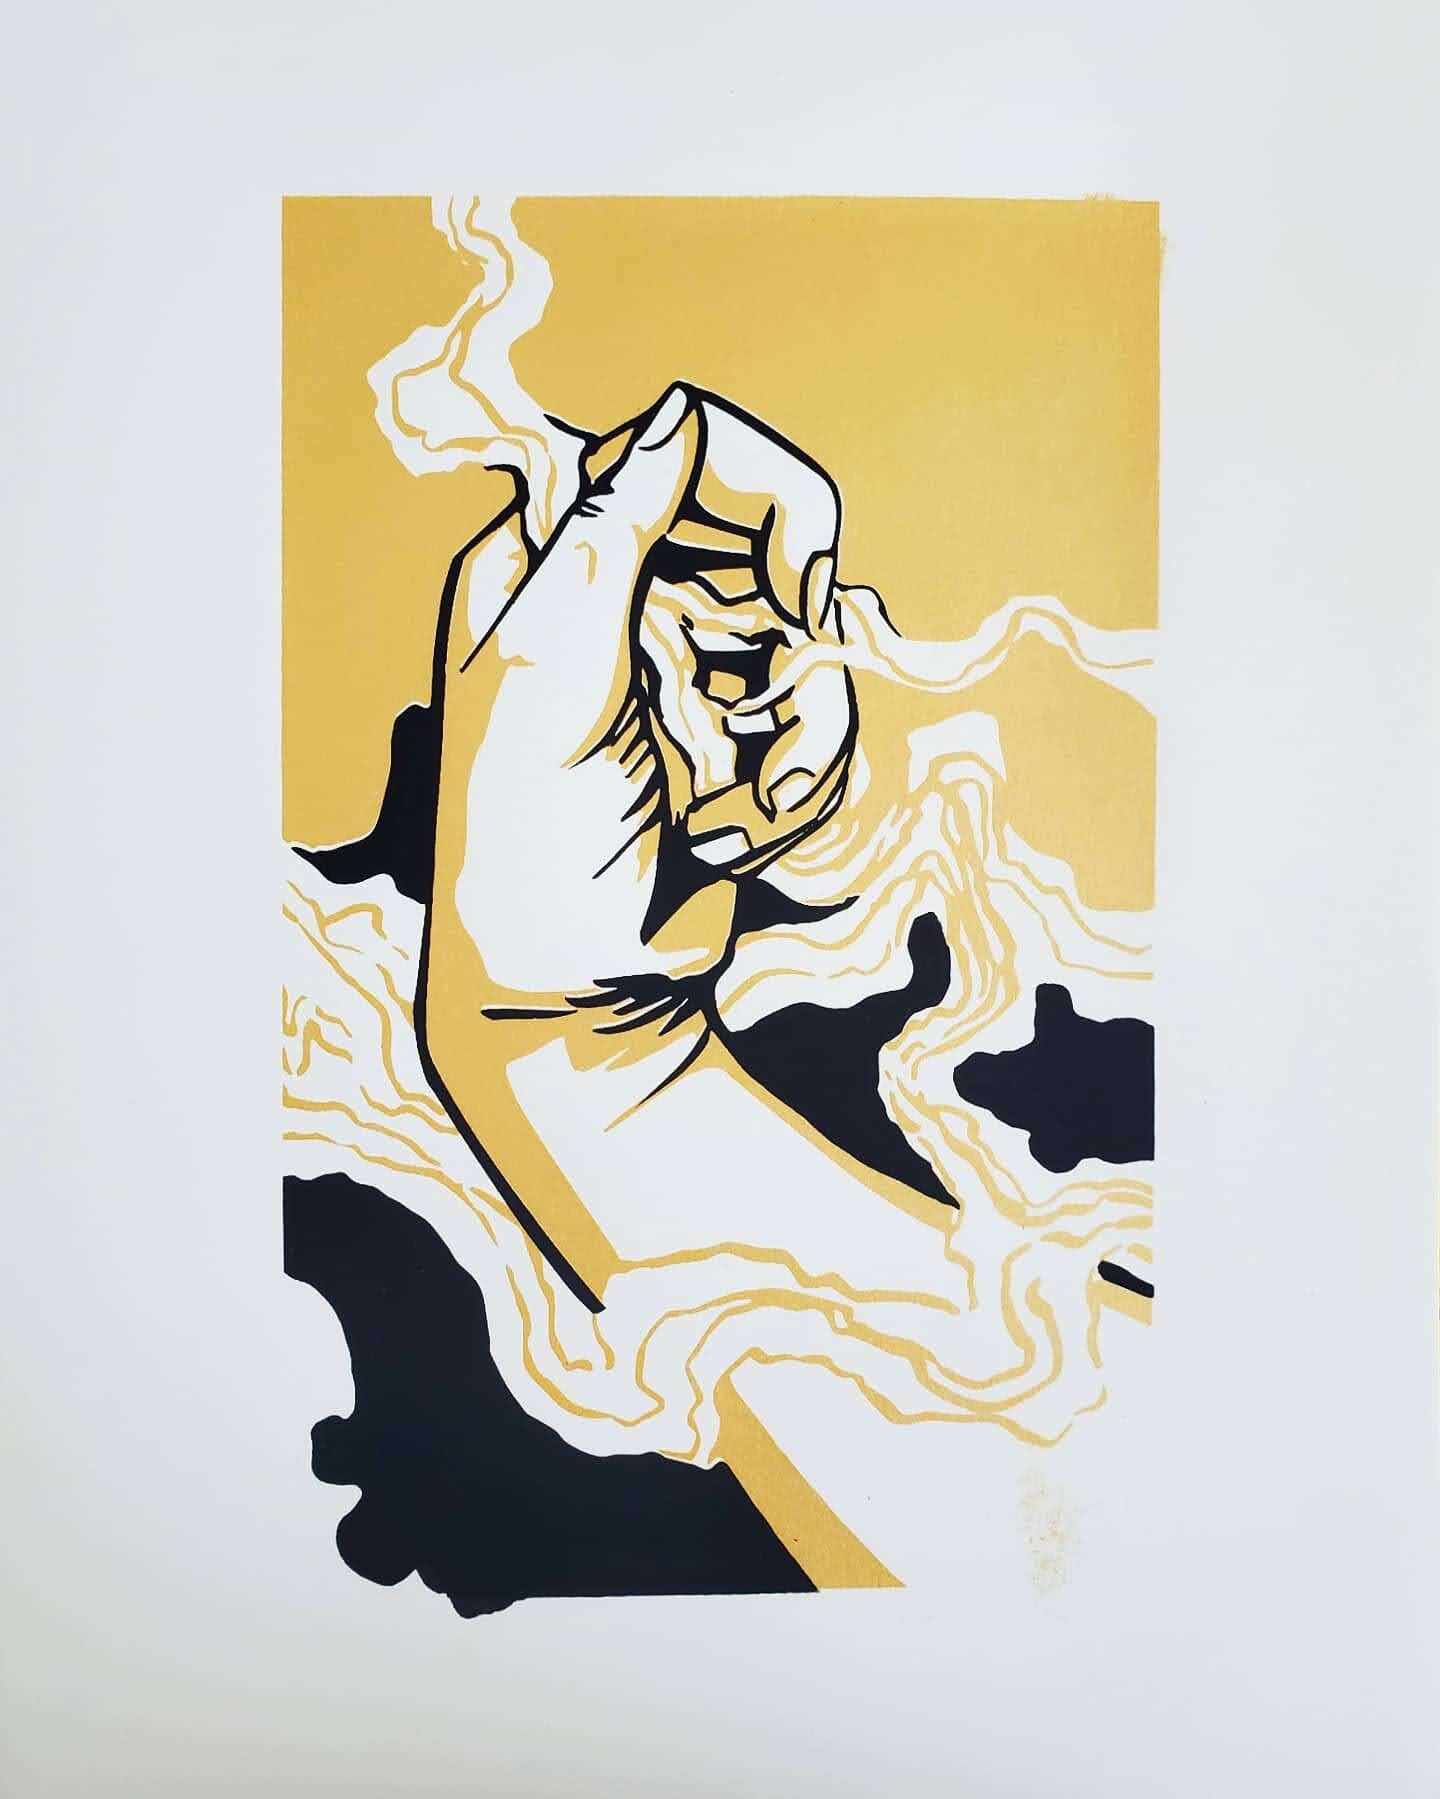
Gestures II
9x12 | Serigraph on bristol paper
1/10 in set
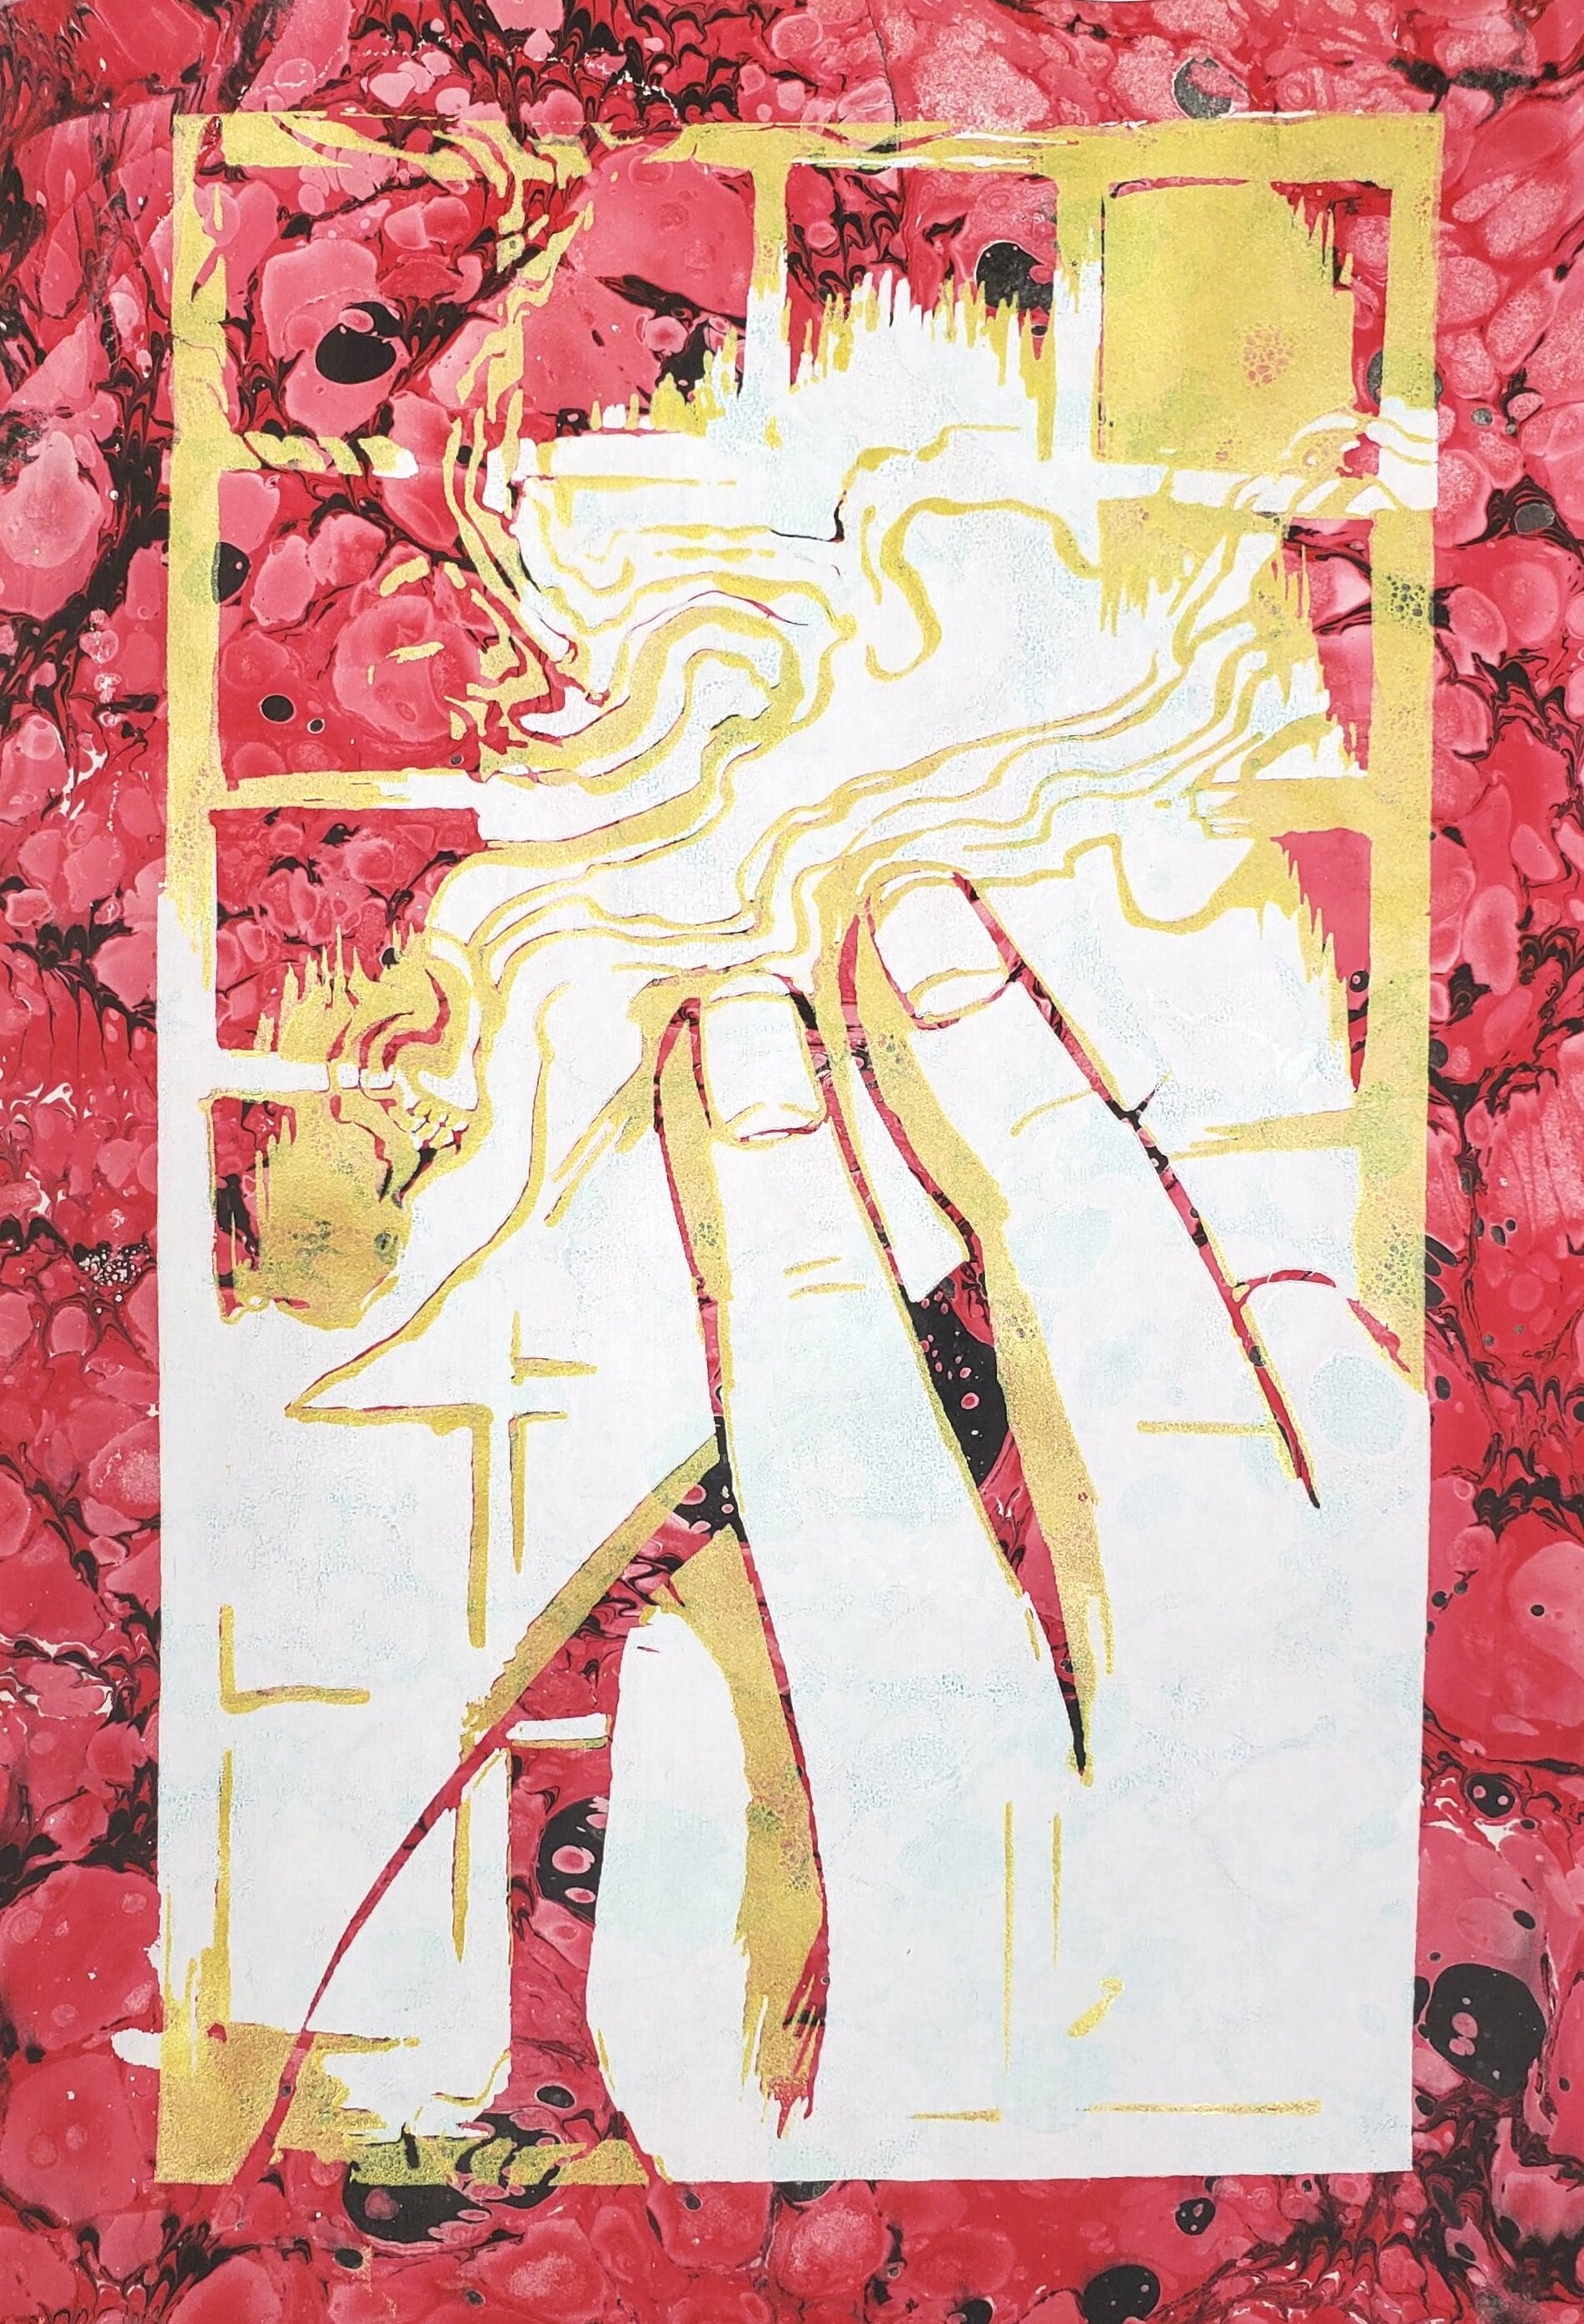
On Experiencing Pain through Art
9x12 | Serigraph with Marbling on Stonehenge paper
1/1 in marbled set
On Experiencing Pain through Art
9x12 | Serigraph with Marbling on Stonehenge paper
3 in set
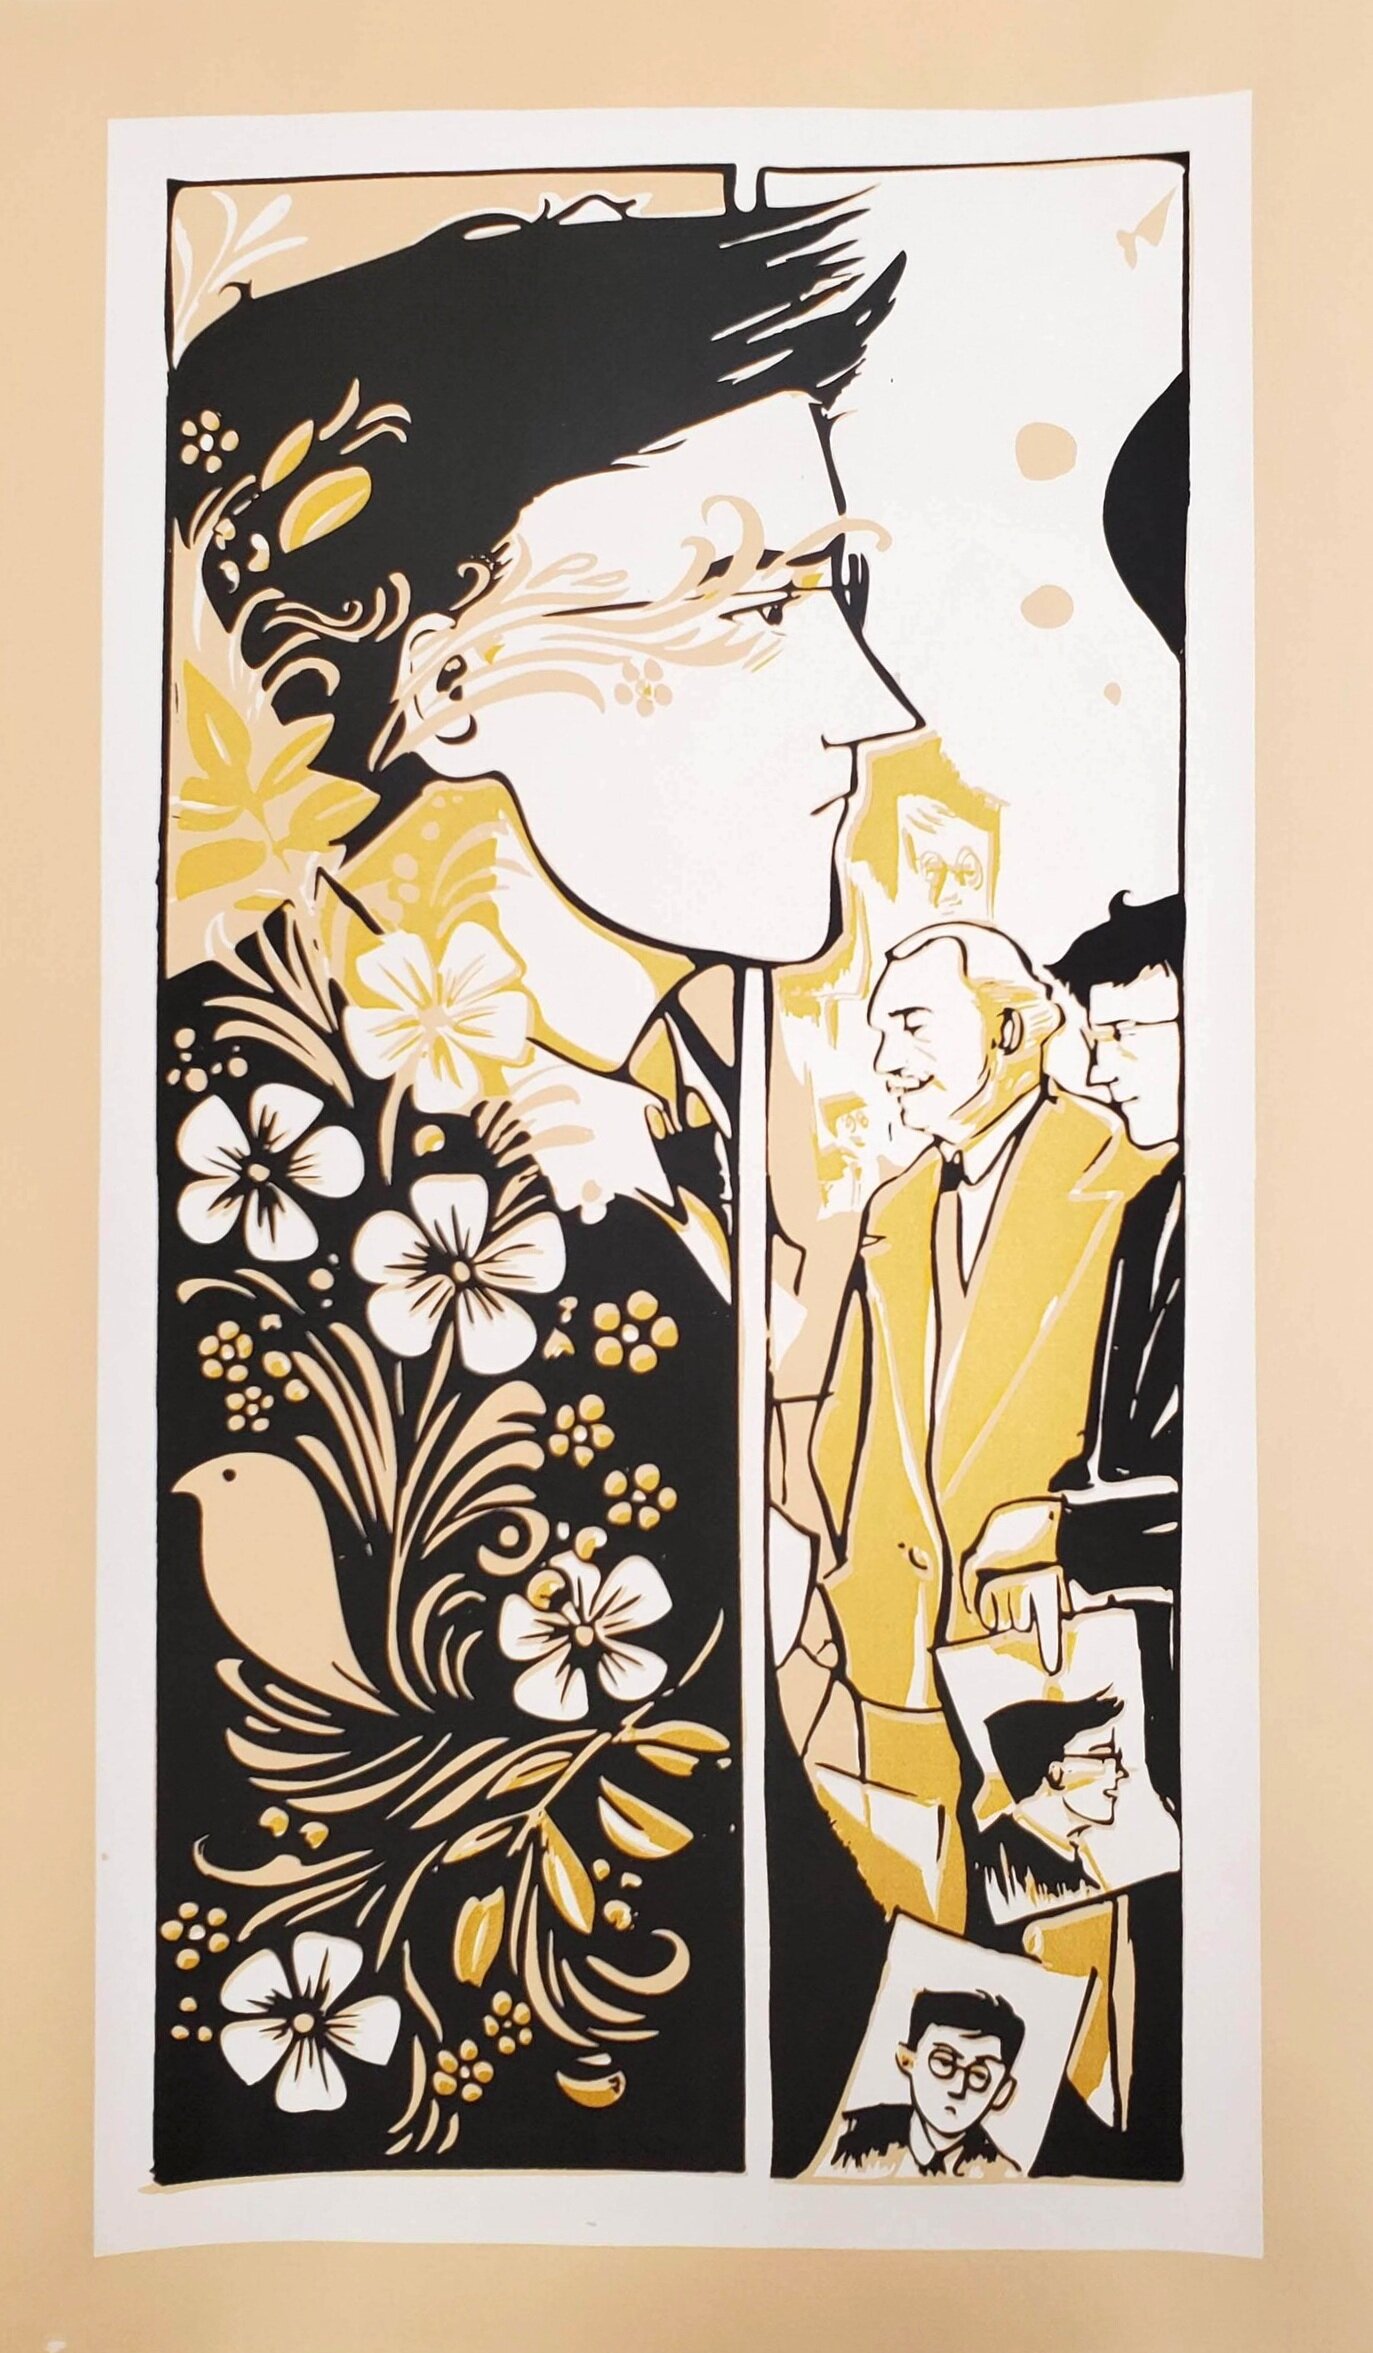
The Drawing Lesson
10x22 | Serigraph on Canson Drawing Paper
3 in set
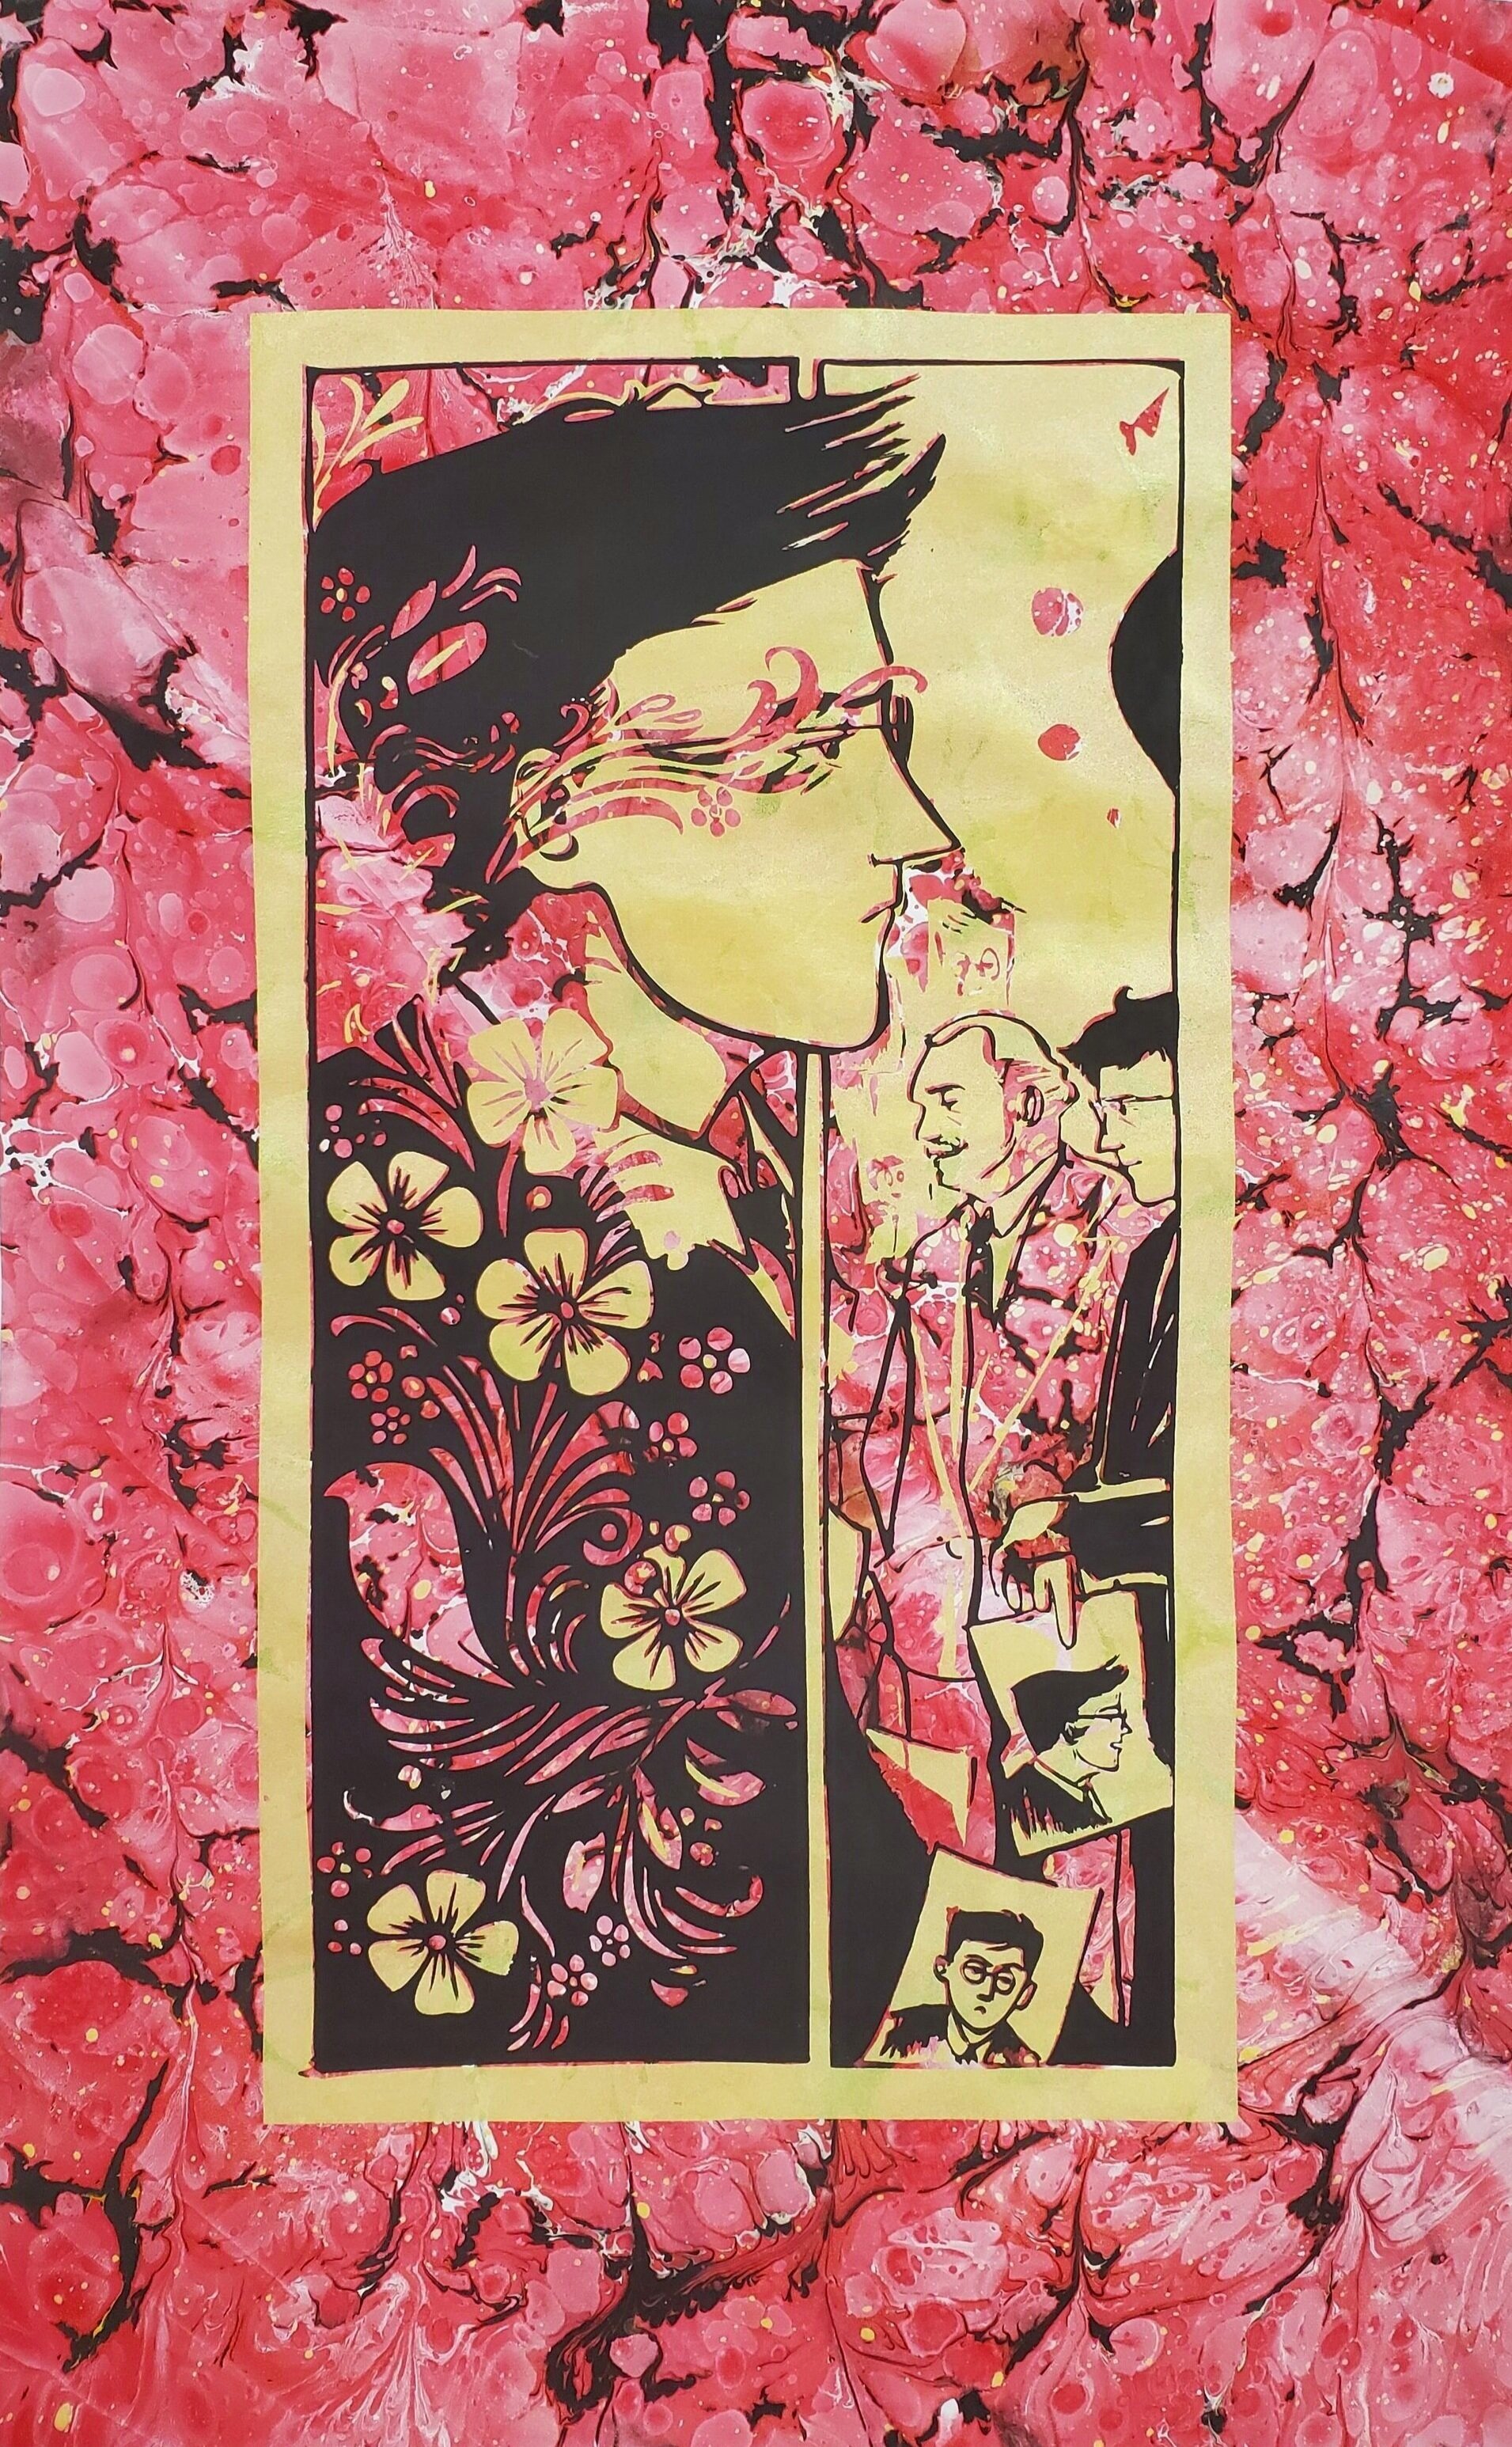
Drawing Lesson
15x24 | Serigraph with Marbling on Stonehenge paper
2/3 in set
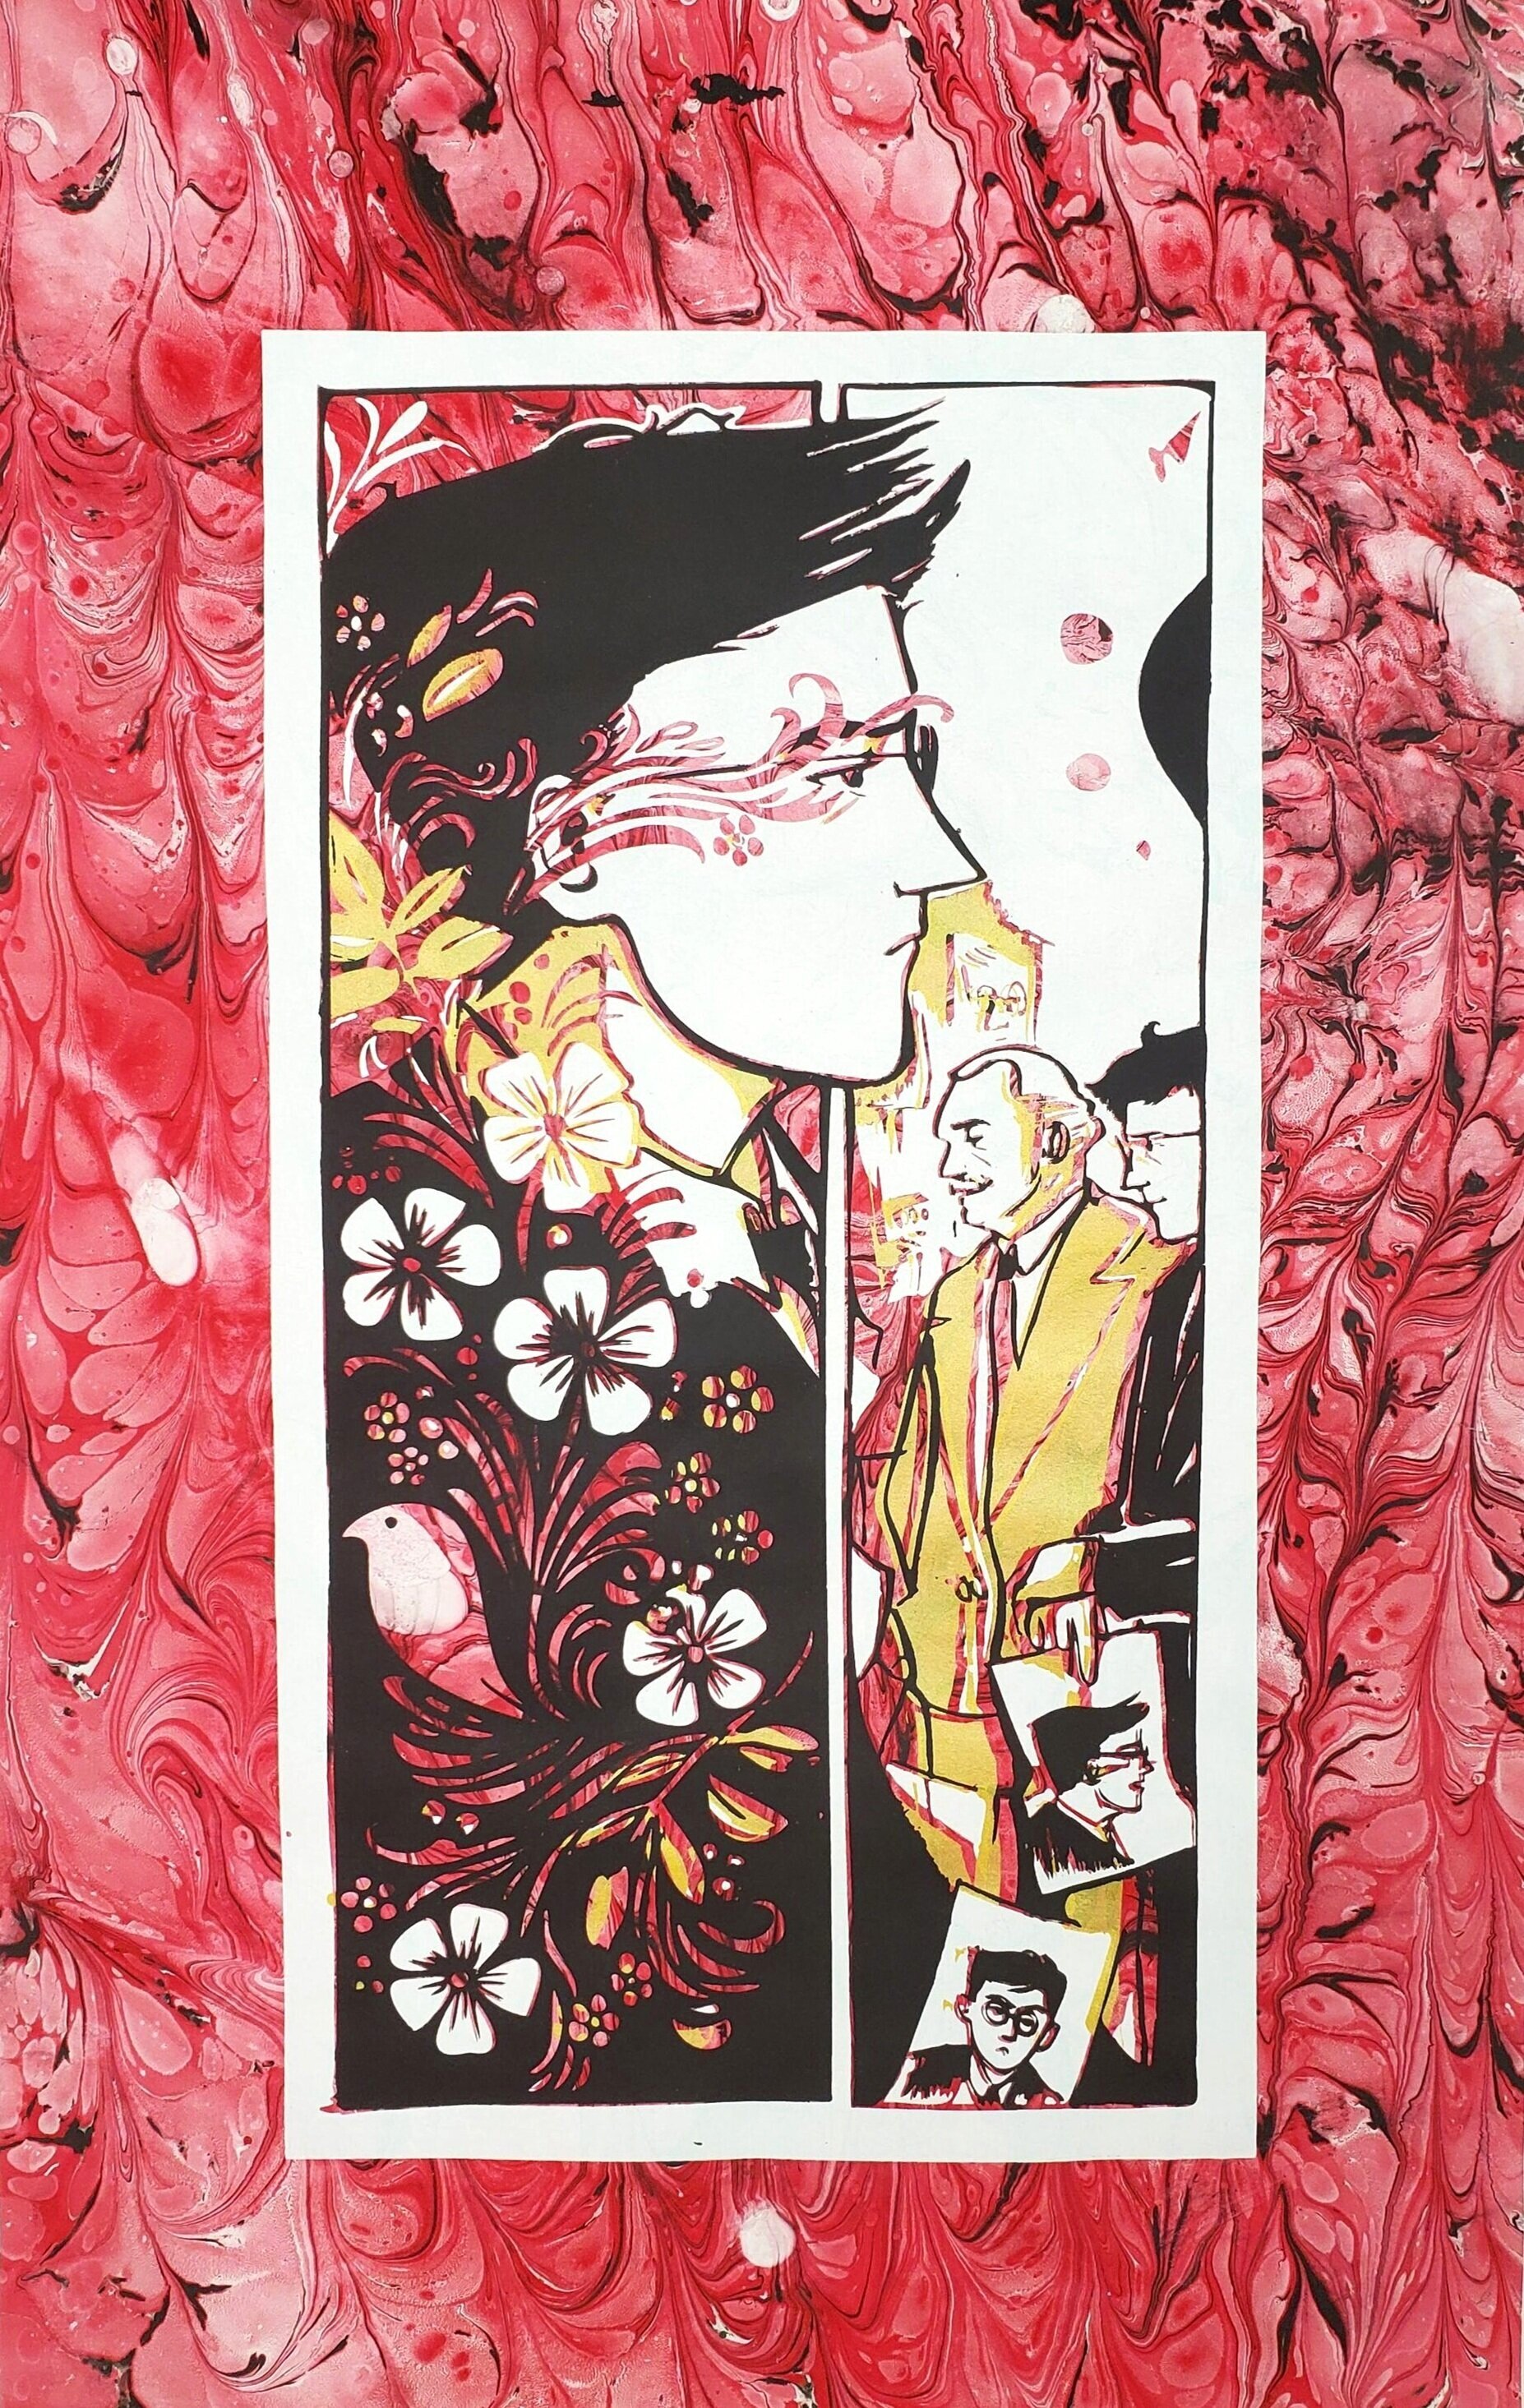
Drawing Lesson
15x24 | Serigraph with Marbling on Stonehenge paper
3/3 in set
Drawing Lesson
15x24 | Serigraph with Marbling on Stonehenge paper
1/3 in set